How To Wood Fill, Sand, Caulk, and Paint Trim — My Process and Preferred Products [VIDEO TUTORIAL]
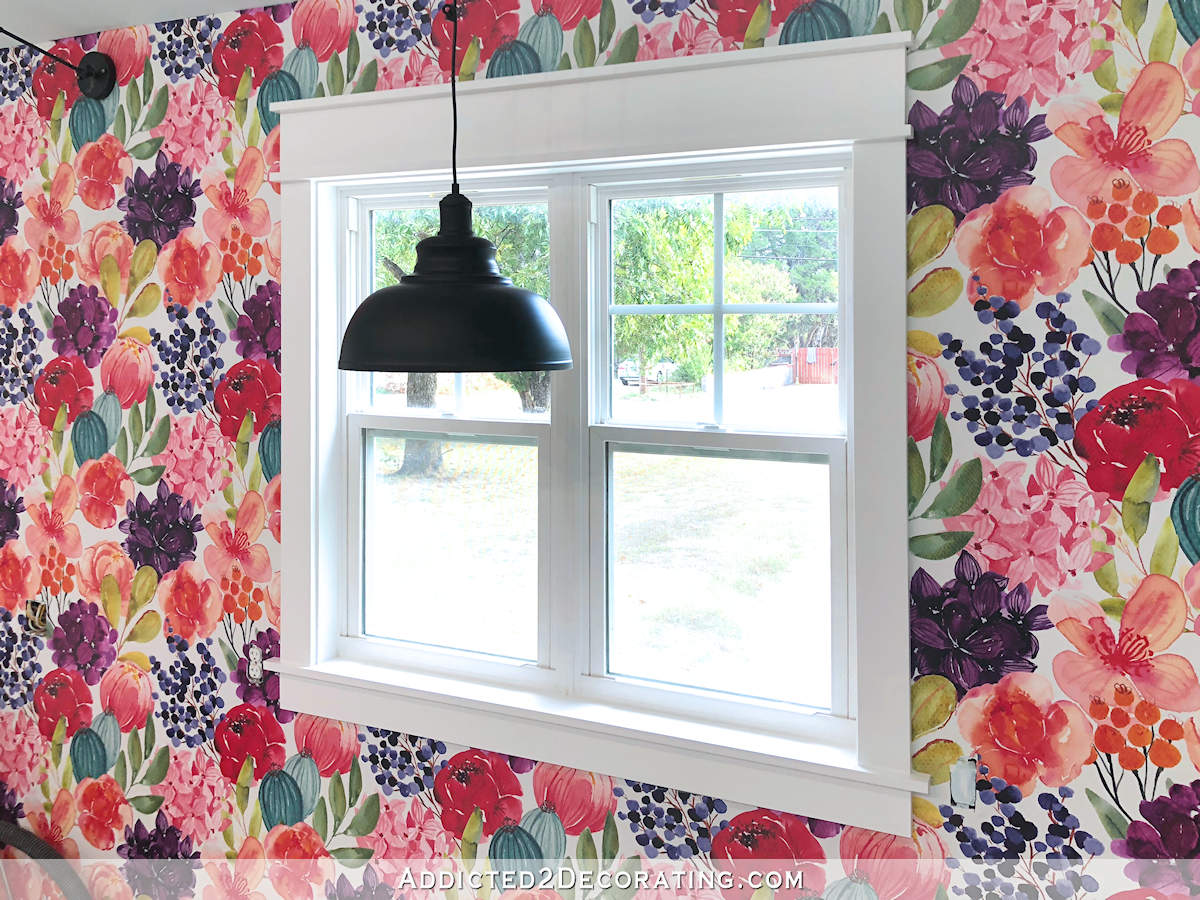
I spent some time working on the studio yesterday and trying to get the window trim finished. I installed the casings quite a while back, but they still needed wood filling, sanding, caulking and painting. And since this is a process that so many of you have asked me about, I decided to do a video of the products and the process that I use.
But first, if you missed the tutorial on how I create my very simple window and door casings (no miter cuts!) that look fancy and custom, you can find that here:
Even though this style of trim looks fancier than the standard door and window casings with the mitered corners, this is actually a much better style for someone with very little experience using a miter saw. Since all of the cuts require a simple 90-degree cut, and there are no mitered corners to deal with, it’s deceptively simple.
Anyway, my trim has been installed for a while now, but I finally got around to actually finishing one window (and almost finishing the other two) yesterday. So if you’d like to see the process in video form, you can see that here…
Having trouble with that video? Click here to view on YouTube.
If you don’t have time to watch the whole video (after all, I did ramble on for 20 minutes! 😀 ), here are the highlights:
2:02 – It becomes clear that I’m as angelic as they come, because I not only have a halo over my head, but I also have them in my eyes. And also, I share the wood filler that I use…
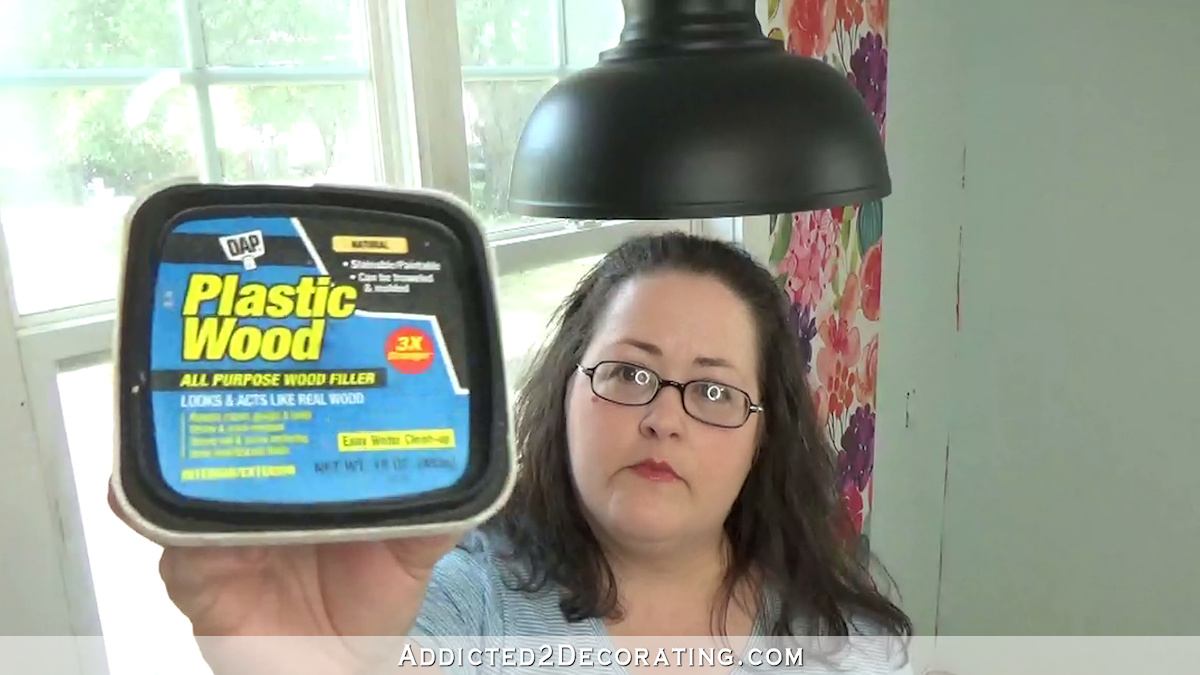
2:14 – I share that there are THREE types of this DAP wood filler, but then only proceed to explain two. You have to join my Patreon at the low rate of $5 per month to get the rest of that riveting content. (Just joking! 😀 The third is a solvent-based wood filler that I use for outdoor projects, like filling the screw holes in my front porch boards. It stinks to high heaven, and might make you a little high (bonus!), but it works great outdoors!)
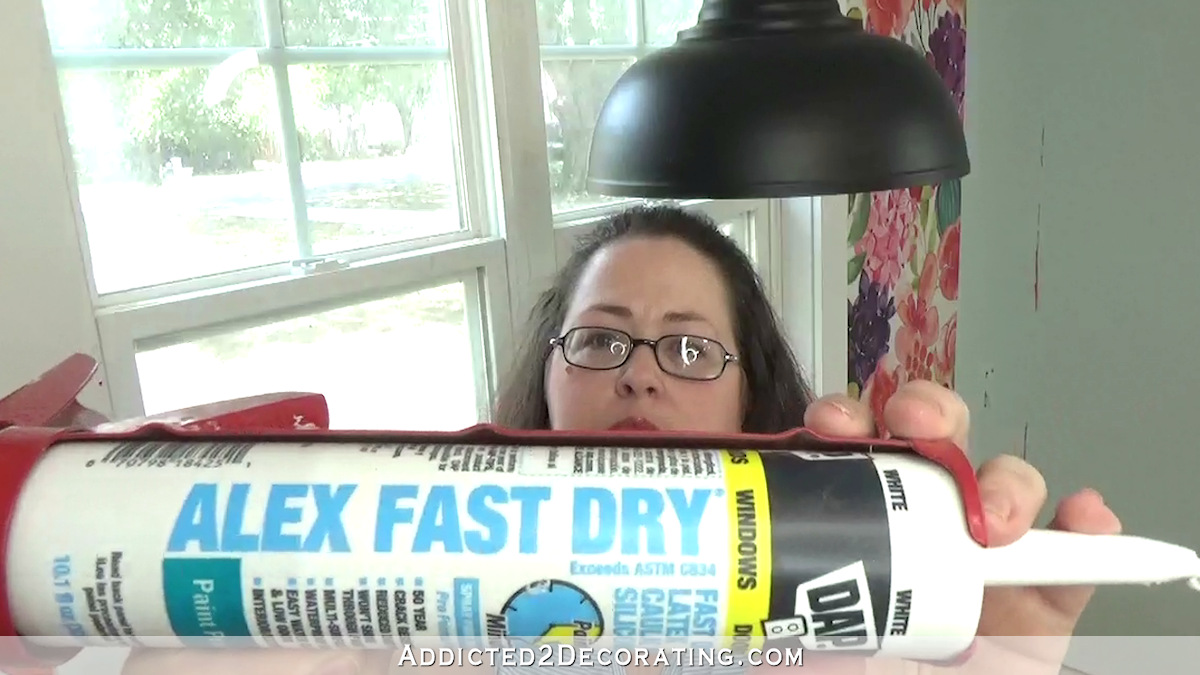
3:11 – I share my caulk of choice, and make sure that I pronounce the “L” clearly, because otherwise, it’s just awkward.
5:27 – I share where to use wood filler, and where to use caulk.
6:30 – You get to see me actually apply wood filler to a nail hole. Now THIS is the type of stuff that should be behind a paywall. It doesn’t get much more exciting than this.
8:02 – If you only watch my videos for the awesome music, this is where to start.
9:04 – I show you how to use a piece of sandpaper, just in case that was a mystery to you. After all, those packages don’t come with instructions. You’re welcome.
10:14 – Finally, the good stuff — how to caulk.
10:25 – I tell you what this mysterious hole is on a caulk gun (the one labeled “spout cutter” that I didn’t realize was there for my first 15-ish years of DIYing)…

11:19 – I share the secret ingredient for perfect caulking. I won’t keep you in suspense. That would be cruel and heartless. It’s dishwashing liquid.
14:50 – That awkward moment when I got caught on camera digging around inside my shirt. It’s PG-rated. I promise.
15:14 – I finally get to the painting.
15:30 – I try to sell you on the merits of using an oil-based primer, even though I was too lazy to dirty up a brush myself and actually use it on the cut edge of the window sill. But do as I say and not as I do!

16:49 – I do my best to rid the world of semi-gloss and glossy paint finishes.
17:40 – I lecture you like a schoolmarm about the proper use of Floetrol. Evidently this topic brings out my serious side.

19:06 – I explain how singing softly and gently stroking your paint brush will make it work better and leave fewer brush strokes in the finish…
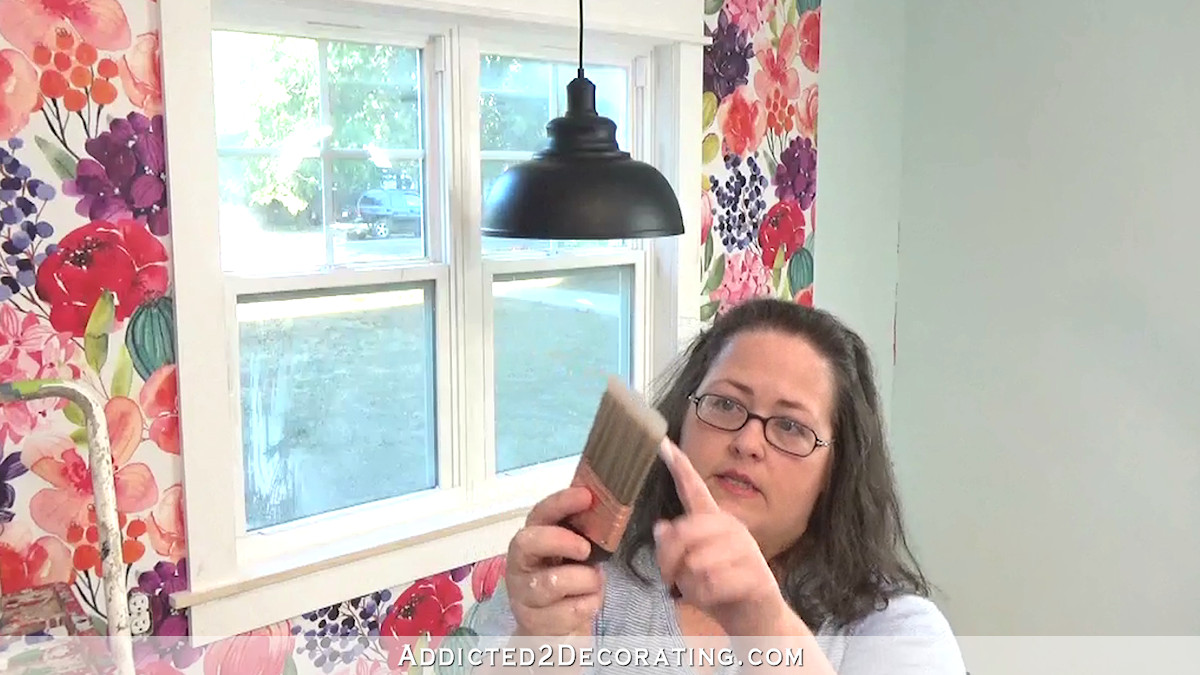
Okay, obviously that’s not exactly right, but wouldn’t it be more fun if that were true?
Anyway, I hope you enjoy the video, and it answers some of your burning questions. If I left anything out, just let me know, and I’ll do my best to answer!

Addicted 2 Decorating is where I share my DIY and decorating journey as I remodel and decorate the 1948 fixer upper that my husband, Matt, and I bought in 2013. Matt has M.S. and is unable to do physical work, so I do the majority of the work on the house by myself. You can learn more about me here.


Very interesting, informative and funny! Love your videos.Xx
“3:11 – I share my caulk of choice, and make sure that I pronounce the “L” clearly, because otherwise, it’s just awkward.” Dying. 😀 😀 😀
Your synopsis has me laughing! What a beautiful soul you are! Can’t wait to watch the video later.
I torally agree!!😂😂
Aargh. *totally* Looks like I spell with marbles in my mouth.
Your rundown is hilarious!!! Thanks for that unexpected humor in my day!
Love your videos. I wish you would do one for all of your projects.
I’m not in a place where I can an watch the he video yet, but your commentary has me in stitches!
Loved this – very relaxing to learn the proper way! Actually I need to work on all the baseboards, etc. so now I know a better way. (I also already learned the hard way that
caulk doesn’t work so good filling the holes – thanks for confirming!) By the way, one
question…If you use oil based primer, do you then HAVE to use oil based paint? Needless
to say, I HATE cleaning the brushes – so do I just stick to all water based primer and paint?
Oh, and of course I freaked out about a bug down your shirt!
PS) And OMG – how come we never knew about that hole in the caulk gun???
Ditto! Why didn’t we know?
Love this video! Very informative! And love the written commentary! Didn’t know about the caulk cutter either!
lol I came to the comments just for that reason! HOW DID I NOT KNOW ABOUT THIS???
Perfect timing on doing this video! I am currently transforming an old solid wood closet door into a hall tree. I will definitely use your methods.
cant wait to get to that step. Thanks!!
Can’t watch the video right now, but your written synopsis has me in stitches.
After I divorced, I moved from a house built in 1900 to one built in 1999, and my dream is to someday redo all the window casings, because they just don’t do them like they used to.
Haven’t noticed your sense of humor in other blog posts. Figured you for a no nonsense kind of gal. Loved the silliness and do believe you deserve a halo for your mad skills.
I kinda skipped through the video, because I already knew most of what you demonstrated, but love your humor! Also, I just learned this past weekend about the cutter! And I’ve caulked along side pros who always use a box cutter or some other knife. Wonder what they have against the cutter? Your tip on dishwashing liquid makes sense too, I always used a wet finger – times four or five! LOL!
Ohhhhhh! This post is just in time as I am about to finish the baseboards I just installed. Boy, was it a challenge. Your advise about using 45degree cuts and trusting the power of caulk was very helpful 😁. It helped me ignore all the imperfections in the plaster walls and bullnose corners (grrrr….) I also got the 3 tool combo air compressor and that made it really easy! It was on sale at Home Depot ….saved $80! 😁…thanks so much! If nothing else you have made me brave!
Haven’t watched the video…but knew about the cutter. My
Problem is cutting off too much of the tip so the whole is too big… 😟….
Oops *hole….
This was great! So funny!
This is an important video for beginners. I have been doing restoration since 1962 and I do pretty much the same things that you do. You didn’t mention however, the importance of vacuuming after sanding. Those gritty devils will destroy the work you did. Also, I devised a wood filler using a little wood glue in the water of Rock Hard Water putty. Because the Rock had comes in a dry form, I can mix what I need when I need it and it doesn’t dry out. It sticks really good in the nail holes and can also be used for larger infills. I even use it on my wood floors when the hardwood doesn’t come together as nicely as my ‘perfectlyness’ needs. My training as a professional artist left me with several lifted palette knives which is what I use to apply the wood filler. I also use a small soft bristle brush to go over the wet caulk at the final pass over which has been ‘wetted’ with the dish soap solution. Caulking is the first thing I have taught my four kids about painting. It makes all the difference in a nice finish. One last thing. If I haven’t used all the caulk when the job is finished, I stick a nail in the end of the tube with a nail and then masking tape, so I can continue with this tube on the next job. I have several sizes of copper wire (stripped from electrical wiring) handy for inserting into the end of the tube to puncture the membrane in the tube and to re-open the dried caulk when using the left over tube.
I’m in the middle of a huge siding project and have used about a dozen tubes of caulk. Can’t wait to try the cutter. NEVER knew in all my years of DYI!
You’re ‘Cliff Notes’ version of the video is hilarious and informative! I’ve been wondering how you do the caulking and I’m excited to put it to use on the crown moulding we had replaced after fixing a leak in the ceiling.
Also, there was a link to the a much older post of yours for how to remove wallpaper without actually removing it. Our house has 21 walls with wallpaper and 2 ceilings with wallpaper. We’re down to 5 wallpaper walls, all in stairwell/hallway and I am OVER it. Definitely using your method! The ceiling wallpaper actually looks nice with the texture and fresh paint and not other wallpaper in the room!
Ugh, so many spelling & grammar errors! I was typing to fast!
Kristi I enjoyed your play by play comments! I have never seen the comedian side of you. Bonus!
19:06 But what kind of songs work best???
Hahaha, I’m not a video watcher most of the time so I really appreciated the visual and comical synopsis. Thanks Kristi!
Yaaaaas! A video! I’ve been waiting years for you to jump into these! You could write a DIY curriculum! I’d buy it!
I haven’t watched the video yet, but I thoroughly enjoyed your blow by blow text narration in the post! LOL! It’s always good not to take oneself too seriously!
LOL! So far I’ve only read the blog, and I’m smiling. Now I’ll watch the video.
Oh my goodness I am still laughing out loud after reading all your video segment comments! Hilarious is an understatement 🙂 I especially love the 3:11 comment about making sure to clearly pronounce the “l” in caulk. Once when I was caulking baseboards, I happened to turn to the two men working on the project with me and say “I LOVE caulk!” but forgot the L” You should have seen their expressions after that little gem. Lol. It was embarrassing to say the least!
Hi Kristi … When you sand after painting, do you then wipe the trim down to remove the dust? Dumb question probably but I want to make sure I get it right! 🙂
Yes, always remove all of the dust before moving on to the next step. I often use a dry paint brush to brush the dust away.